
Building muddy junkyard terrain 1/35
This is how I did it:
0. Before I started I was thinking a lot about the final result I want to achieve. I wanted to create a bit of contrast between bright colors of the cars and dark muddy terrain. I googled hundreds of muddy terrain pictures to identify the right effect. I saw completely wet terrain (left) with heavy mud with one big splash (right) to be visible in front of the forklift. As the forklift is moving around a lot, I planned to create numerous deeper or narrower tracks randomly all around the base.


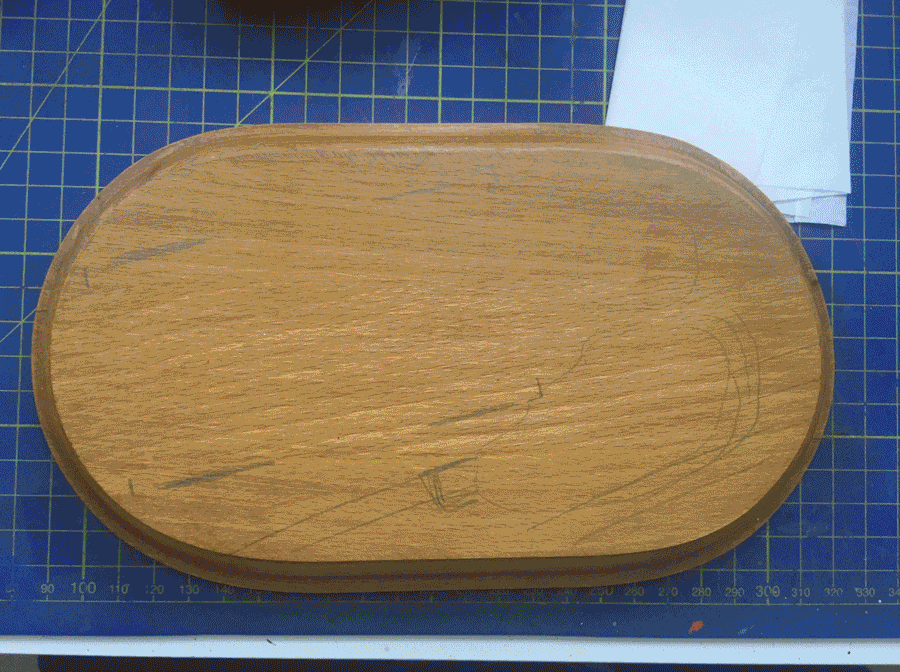
1. I placed finished model on a piece of paper in the same shape as my base. I moved model around until I was happy with the final composition. Once I felt I got it, I simply cut some areas and retraced the basic shapes on a wood base.


2. I put a layer of white glue on the base and placed 5 mm thick mass of air-hardening past from DAS. I wanted the surface to be flat, but to break uniformity here and there I molded slighty higher or lower spots in the terrain. I added tracks with on of the wheels and with thumb I created few hollows to be willed with muddy water. Important step is to cover all the gaps with a white glue diluted with few drops of water.

3. I left it dry completely for few days. Drying process can make some gasps bigger or wider. So I do not recommend to paint too early. Well, until you don’t want to spend extra time correcting some bright orange spots coming up through the ground. I started with a coat of dark brown. In separate pot I mixed soil with some pigments and white glue and placed it around tracks.


4. Once the mass got completely dry again I sprayed few different shades of brown. Always try to apply lighter shades as far from wet areas as possible. Dry brush or some brush correction with other tones are welcome. Just as you like it.

5. I used Vallejo Still Water to create water effect. I worked slowly and applied multiple layers, as each one sits down a bit after some time. 
Well, that’s it.
If you want see the final diodrama, click here.